Mappings
What are Mappings?
Mappings represent the SMARTUNIFIER component that defines when and how data exchange or transformation occurs between two or more Information Models. Essentially, it acts as a translator between different Information Models.
A Mapping consists of one or more Rules. A Rule is made up of a Trigger and a list of Actions:
Trigger
A trigger specifies when the data exchange or transformation occurs. It can be an element in the Information Model or time-based (e.g., every 5 minutes).
See the full list of Triggers below:
-
Node Types in the Information Model such as:
-
Schedulers, which are time-based triggers, offer the following options:
- [Fixed Rate][trigger-fixed-rate]: The rule is triggered at a fixed interval.
- [Fixed Delay][trigger-fixed-delay]: The rule is triggered at a fixed interval with an initial delay.
- [Timeout][trigger-timeout]: The rule is triggered once after a specified delay.
How the different triggers are used is explained in the following sections on Graphical and Code-based approaches to create a Rule.
Actions
Actions define how the data is mapped from source Node Types to target Node Types.
How to Create a New Mapping
Follow the steps below to create a new Mapping definition:
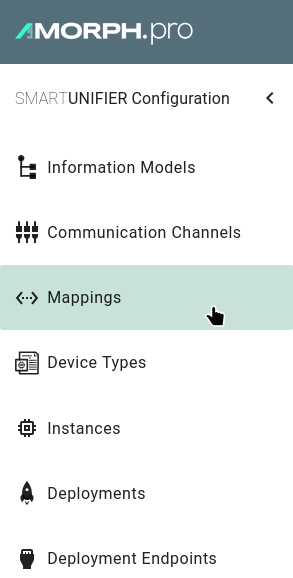
- Go to the Mappings perspective by clicking the "Mappings" button.
-
The following screen displays a list view of existing mappings.
-
To add a new mapping, select the "Add Mapping" button located in the top right corner .

-
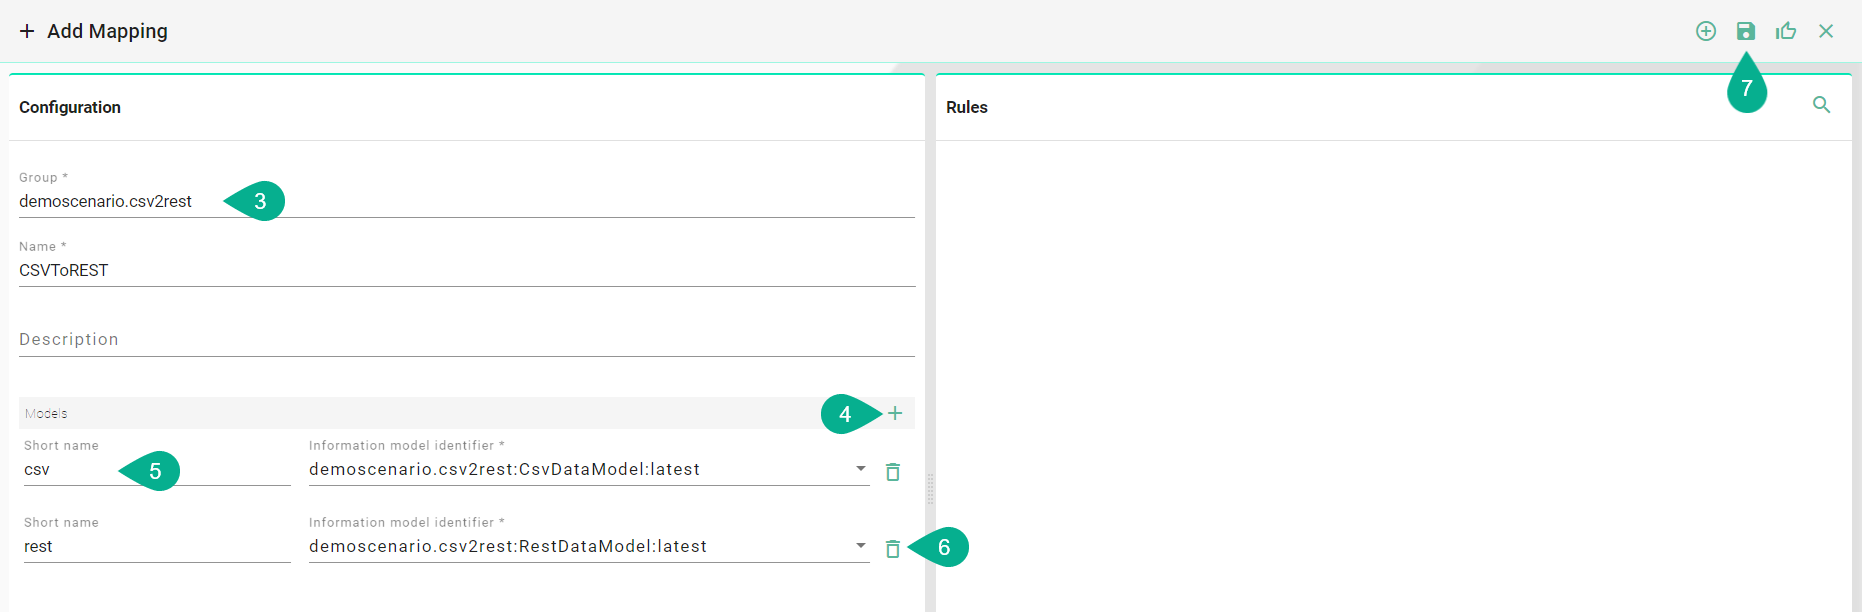
On the subsequent screen, provide the following mandatory information: Group, Name, and Version. A description, which is optional, can also be added (3).
-
Click the "Add Model" button (4).
-
Select the Information Model for this mapping and enter a short name for it. The short name is used to access elements within the model (5).
-
To remove a model from the mapping, click the "Remove Model" button (6). This action is only possible if elements of the model are not used within the mapping's rules. To delete a model, ensure that you first remove its elements from the rules.
-
Once all mandatory fields have been filled in, the "Save" button located in the top right corner will be enabled. Click this button to submit the new Mapping (7).
-
The newly created mapping is now visible in the list view.
How to Create Rules
To create Rules, follow the steps described below:
- Select the "Edit" button (1).

-
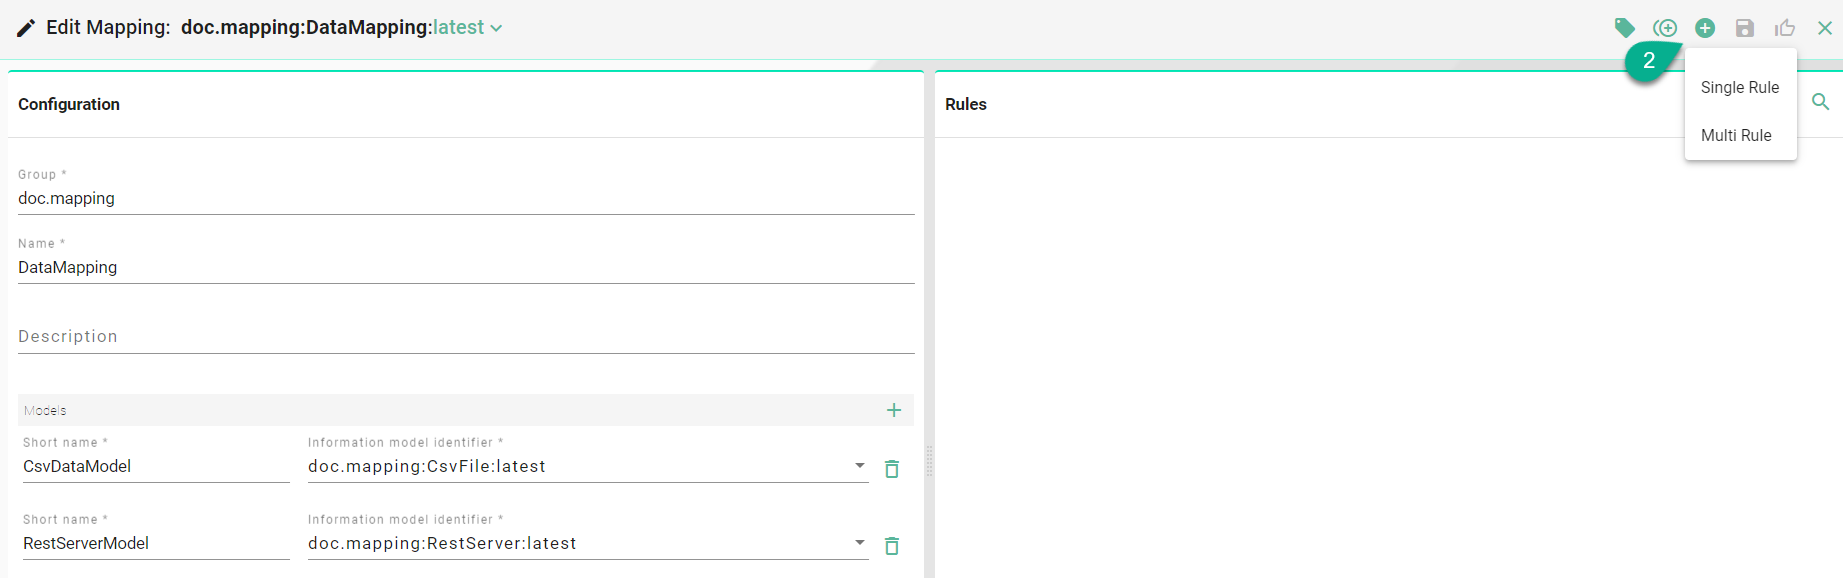
Select the "Add Rule" button located in the top right corner (2).
-
Two options are available:
- Single Rule: Defining a single trigger and a list of actions. The Trigger can be an element in the Information Model or time-based (e.g., every 5 minutes).
- Multi Rule: Defining multiple triggers, each with assignments between source and target elements. The Trigger is the change of a source element in the Information Model.
Rule Naming Convention
The name of the rule should reflect the logic that is executed when the rule is triggered. Below are some examples:
| Example Scenarios | Good Naming |
|---|---|
| Inserting data into a database | Database_Insert |
| Executing a POST/PUT request on a REST server | Update_Data |
| Reacting to an input (e.g., StartOrder button on a MES) | StartOrder |